2023-02-01
Let's write a blog in Rust - Part 2
By building a desktop application first...
Rust • Egui • Process Spawning
Preface
Okay so I’ve worked out how to use some of the basics of Yew here. Now for working out how best to serve the content I write. My idea is to have a load of static html files (one for each blog), and then to serve those based on the slug of the URL being accessed. E.g. /blog/1 for my first blog and so on.
But writing HTML is a bit meh, so I thought why not build a tool in which I can write markdown, have it convert it to HTML for me, and then I can copy and paste that into the files.
I could get some more practice with Yew and write this as a web application, but what if I want to write a post while I’m travelling and have no internet access? Good point, maybe I should build a desktop application as a single binary. Yes, let’s do that.
In hindsight, of course, I realised what an enormous waste of time building this application would be, but it was fun and I learnt some cool stuff, so onwards we march.
Egui
Naturally I wanted to write this application in Rust, well, because I love Rust. After a bit of research I found this great GUI library called “egui” which is denoted as “an easy-to-use immediate mode GUI in Rust that runs on both web and native”, exactly what I’m looking for. There is an awesome demo of it here.
An important distinction to make here, at least as far as I was able to make it, is that egui runs on top of the framework eframe. Eframe is an entirely different crate so we’ll need that as well.
Starting off by creating a new Rust binary with the necessary crates.
cargo new egui-application
cd egui-application
cargo add eframe
cargo add egui
The eframe documentation provide a great starting point, it says that we must to implement the App trait which has the following methods (of which the only required one is update()):
pub trait App {
    fn update(&mut self, ctx: &Context, frame: &mut Frame);

    fn save(&mut self, _storage: &mut dyn Storage) { ... }
    fn on_close_event(&mut self) -> bool { ... }
    fn on_exit(&mut self, _gl: Option<&Context>) { ... }
    fn auto_save_interval(&self) -> Duration { ... }
    fn max_size_points(&self) -> Vec2 { ... }
    fn clear_color(&self, _visuals: &Visuals) -> Rgba { ... }
    fn persist_native_window(&self) -> bool { ... }
    fn persist_egui_memory(&self) -> bool { ... }
    fn warm_up_enabled(&self) -> bool { ... }
    fn post_rendering(&mut self, _window_size_px: [u32; 2], _frame: &Frame) { ... }
}
The update method is called “each time the UI needs repainting which may be many times per second”, around 60x per second in fact, and that’s in debug mode!
Okay so for now, let’s copy a base example and make ourselves a simple Hello World application - and eventually a counter app, as is tradition.
struct MyApp {}

impl eframe::App for MyApp {
    fn update(&mut self, ctx: &egui::Context, _frame: &mut eframe::Frame) {
        egui::CentralPanel::default().show(ctx, |ui| {
            ui.heading("Hello World!");
        });
    }
}

fn main() {
    let options = eframe::NativeOptions::default();
    eframe::run_native(
        "My Application",
        options,
        Box::new(|_cc| Box::new(MyApp{})),
    );
}
And with a swift cargo run we are greeted with:
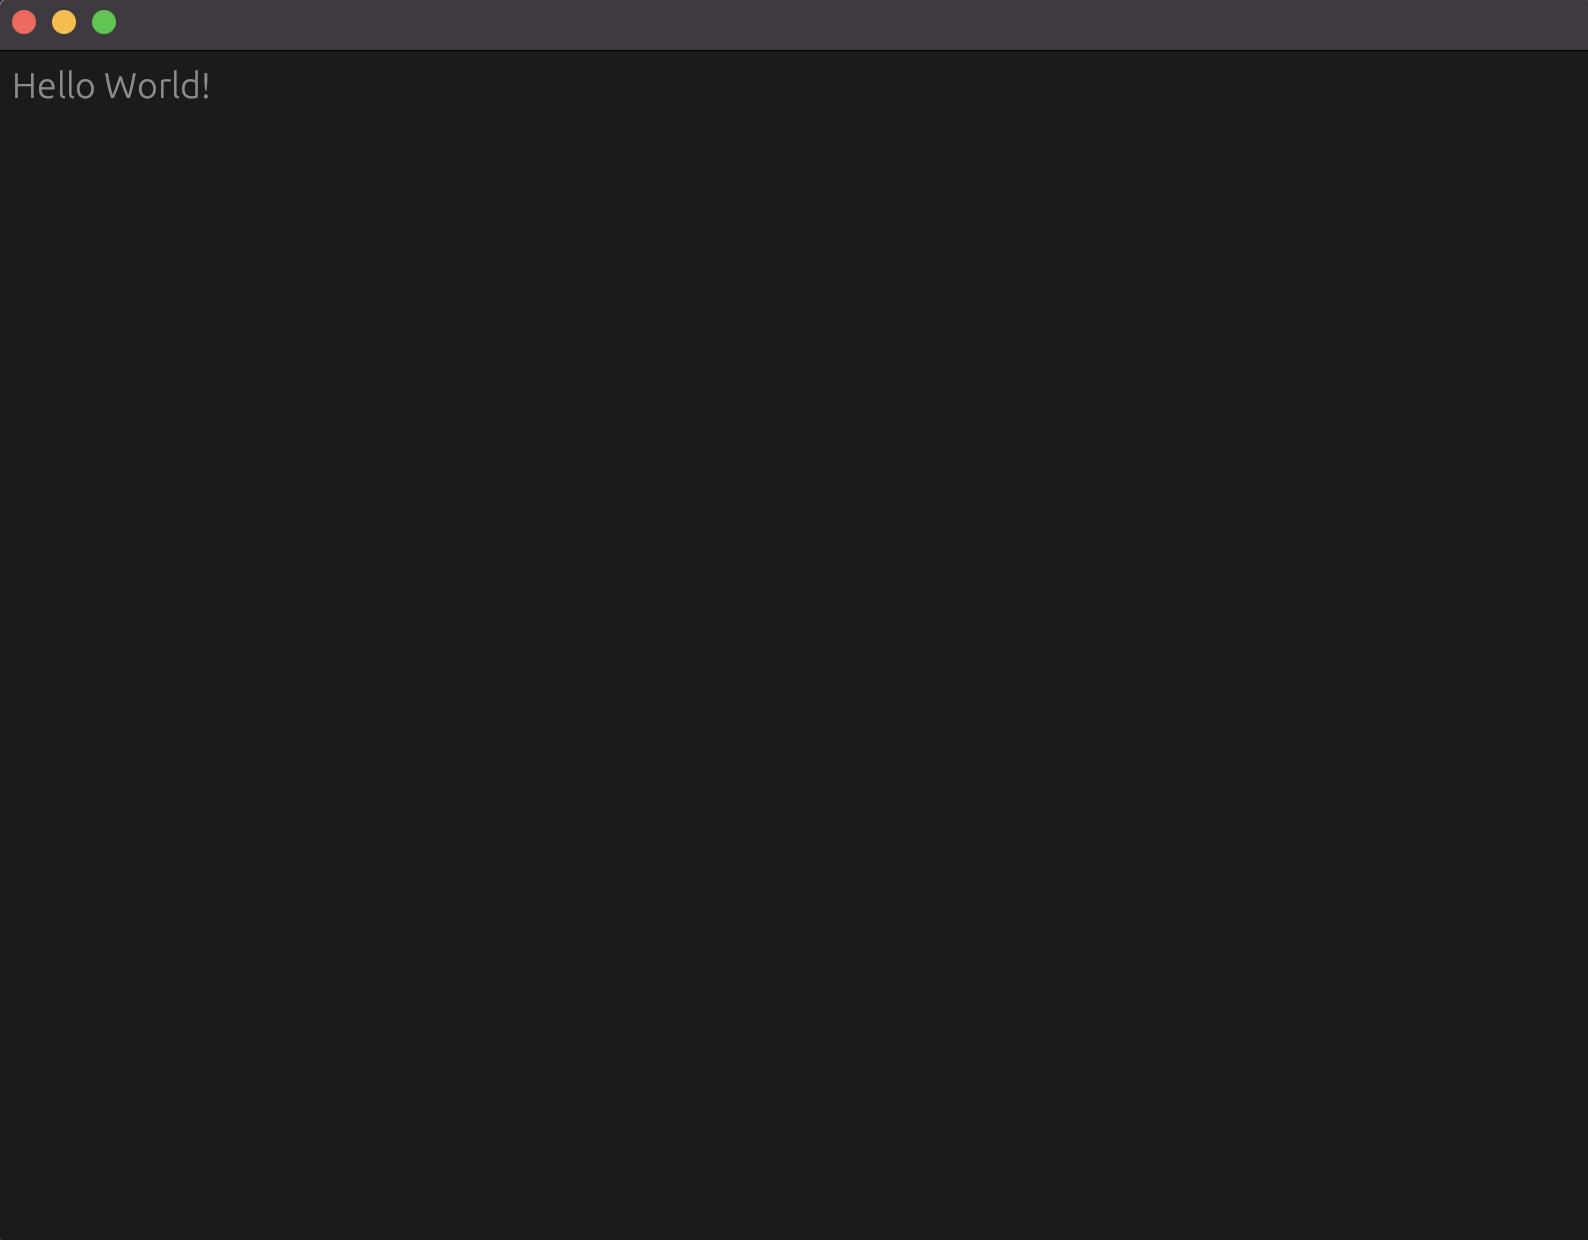
How exciting! Let’s try a text input. As we can see, our Hello World text came from the ui.heading() function, an associated function to the Ui type. If we check out the struct in the docs, we can see all the associated methods, and see if there is some form of text input widget…and there is:
pub fn text_edit_singleline<S: TextBuffer>(&mut self, text: &mut S) -> ResponseBefore we add it in, what is the second argument going to be? Something of type S which implements TextBuffer. I’ll presume at this point that a string will do, let’s give it a go:
impl eframe::App for MyApp {
    fn update(&mut self, ctx: &egui::Context, _frame: &mut eframe::Frame) {
        let mut buffer = String::new();
        egui::CentralPanel::default().show(ctx, |ui| {
            ui.heading("Hello World!");
            ui.text_edit_singleline(&mut buffer);
        });
    }
}
This compiles! We’ve declared a buffer, now time to test it out…
Hmmm, how strange, it registers the characters as I type only momentarily, before clearing the input field. Now some of you may be thinking, well obviously, you just stated above that update() runs at least 60x per second, so everytime it runs and “repaints” the GUI the buffer is being redeclared as an empty string which is bound to the text in the text_edit_singleline field. Oh yeh, thanks! Let’s move it higher up then, into a field of our MyApp struct, and derive Default while we’re at it.
#[derive(Default)]
struct MyApp {
    buffer:String,
}
Then remove the buffer from the update method and make sure the text input takes &mut self.buffer instead:
impl eframe::App for MyApp {
    fn update(&mut self, ctx: &egui::Context, _frame: &mut eframe::Frame) {
        egui::CentralPanel::default().show(ctx, |ui| {
            ui.heading("Hello World!");
            ui.text_edit_singleline(&mut self.buffer);
        });
    }
}
And finally let’s instantiate our MyApp correctly in main:
fn main() {
    let options = eframe::NativeOptions::default();
    eframe::run_native(
        "My Application",
        options,
        Box::new(|_cc| Box::new(MyApp::default())),
    );
}
Give it a whirl and now it keeps our text as expected!
So this makes sense, our way of keeping state within our application is to declare it as a field within the struct which we are implementing App for. Now we’ve got that sorted, we can move on to creating a counter application. However, we’ll quickly look at the available options that we can run our application with, as currently we’re running with default options.
If we look at the NativeOptions struct which pass into eframe::run_native(), there are 26 fields:
pub struct NativeOptions {

    pub always_on_top: bool,
    pub maximized: bool,
    pub decorated: bool,
    pub fullscreen: bool,
    pub drag_and_drop_support: bool,
    pub icon_data: Option<IconData>,
    pub initial_window_pos: Option<Pos2>,
    pub initial_window_size: Option<Vec2>,
    pub min_window_size: Option<Vec2>,
    pub max_window_size: Option<Vec2>,
    pub resizable: bool,
    pub transparent: bool,
    pub mouse_passthrough: bool,
    pub vsync: bool,
    pub multisampling: u16,
    pub depth_buffer: u8,
    pub stencil_buffer: u8,
    pub hardware_acceleration: HardwareAcceleration,
    pub renderer: Renderer,
    pub follow_system_theme: bool,
    pub default_theme: Theme,
    pub run_and_return: bool,
    pub event_loop_builder: Option<EventLoopBuilderHook>,
    pub shader_version: Option<ShaderVersion>,
    pub centered: bool,
    pub wgpu_options: WgpuConfiguration,
}
Wow, that’s a lot of options. The main ones of interest here for me, are centered and resizeable, which default to false. Let’s set these to true and then the rest of the options can be configured as the default options:
let options = eframe::NativeOptions{
    resizable:true,
    centered:true,
    ..Default::default()
};
Counter Application
Two buttons, one counter, what can go wrong? The docs for the ui.button() method gives a very nice example of usage:
if ui.button("Click me!").clicked() {
    // Execute meee (okay I added this comment)
}
Seems simple enough, if the button is clicked we execute the code in the code block below. Let’s remove our buffer field and swap it out for counter:i32, add the two buttons, and have our heading display the count as a String.
#[derive(Default)]
struct MyApp {
    counter:i32
}`

impl eframe::App for MyApp {
    fn update(&mut self, ctx: &egui::Context, _frame: &mut eframe::Frame) {
        egui::CentralPanel::default().show(ctx, |ui| {

            ui.heading(&self.counter.to_string());

            if ui.button("-").clicked() {
                self.counter -= 1;
            }

            if ui.button("+").clicked() {
                self.counter +=1;
            }
        });
    }
}
Et voila, it’s working!
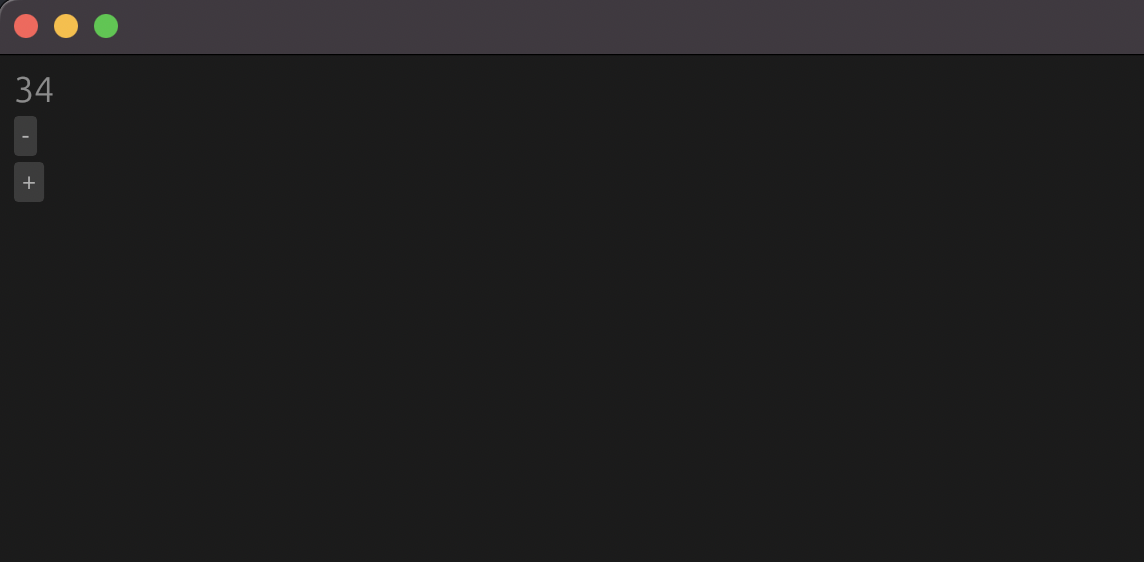
However, let’s be honest, it looks terrible. But we’re not here for a counter application, we’re here for a markdown converter application, so I’ll ignore styling it for now.
Markdown Converter
Here’s the plan, two boxes, one takes markdown input, the other shows HTML output. Setting up the state and layout (this time using multiline input rather than single line):
#[derive(Default)]
struct MyApp {
    markdown:String,
    html:String,
}

impl eframe::App for MyApp {
    fn update(&mut self, ctx: &egui::Context, _frame: &mut eframe::Frame) {
        egui::CentralPanel::default().show(ctx, |ui| {
            ui.heading("Markdown");
            ui.text_edit_multiline(&mut self.markdown);
            ui.separator();
            ui.heading("HTML");
            ui.text_edit_multiline(&mut self.html);
        });
    }
}
Leaves us with this:
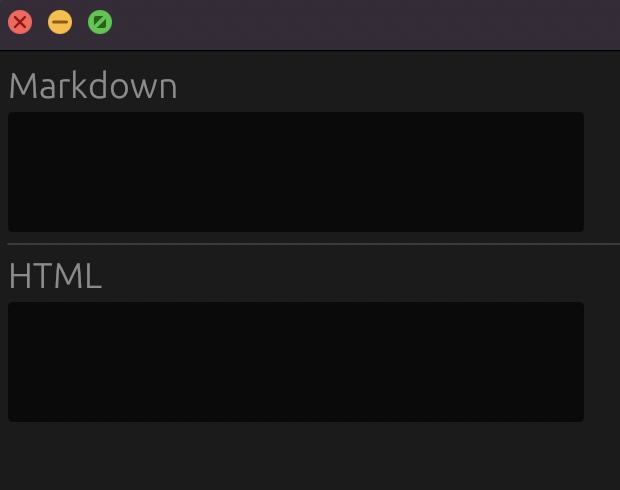
Exactly as envisioned, except for practically everything about it as it doesn’t do anything yet.
We need a function which takes the input of the markdown state, transforms it to HTML, and uses that to mutate the HTML state. Starting with a placeholder function so that we can see how the handling works:
impl MyApp {
    fn convert_markdown(&mut self) {
        let html = format!("This is HTML: {}", &self.markdown);
        self.html = html;
    }
}

// This line then needs to be added anywhere within the update() method.
self.convert_markdown();
Running our application we see that everything is in place:
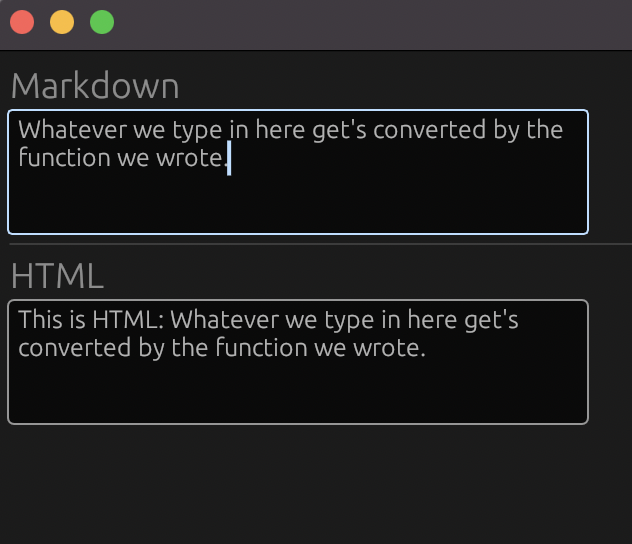
Now we simply need to make the convert_markdown(&mut self) associated function actually do what it says on the tin!
Now yes we could write our own parser for this, but why reinvent the wheel (as much as I do enjoy trying to do that). It definitely gives me an idea for another post in future however!
pulldown-cmark is a great library for our exact usecase, taking markdown and converting it to HTML.
With a nice example to guide us from the docs, we’ll set up a test and see how it works:
#[cfg(test)]
mod test {

    #[test]
    fn test_paragraph_conversion(){
        let markdown_input = "hello world";
        let parser = pulldown_cmark::Parser::new(markdown_input);
        let mut html_output = String::new();
        pulldown_cmark::html::push_html(&mut html_output, parser);
        assert_eq!(&html_output, "<p>hello world</p>\n");
    }

}
And with cargo test, our test passes and is correctly parsing our plain markdown to an HTML paragraph element (and a newline character).
Let’s create the actual conversion function now which parses the current markdown state, and pushes it to the HTML state.
impl MyApp {
    fn convert_markdown(&mut self) {
        let parser = pulldown_cmark::Parser::new(&self.markdown);
        pulldown_cmark::html::push_html(&mut self.html, parser);
    }
}
So parsing the markdown input, and sending the output to the HTML output, sounds about right, but wait:
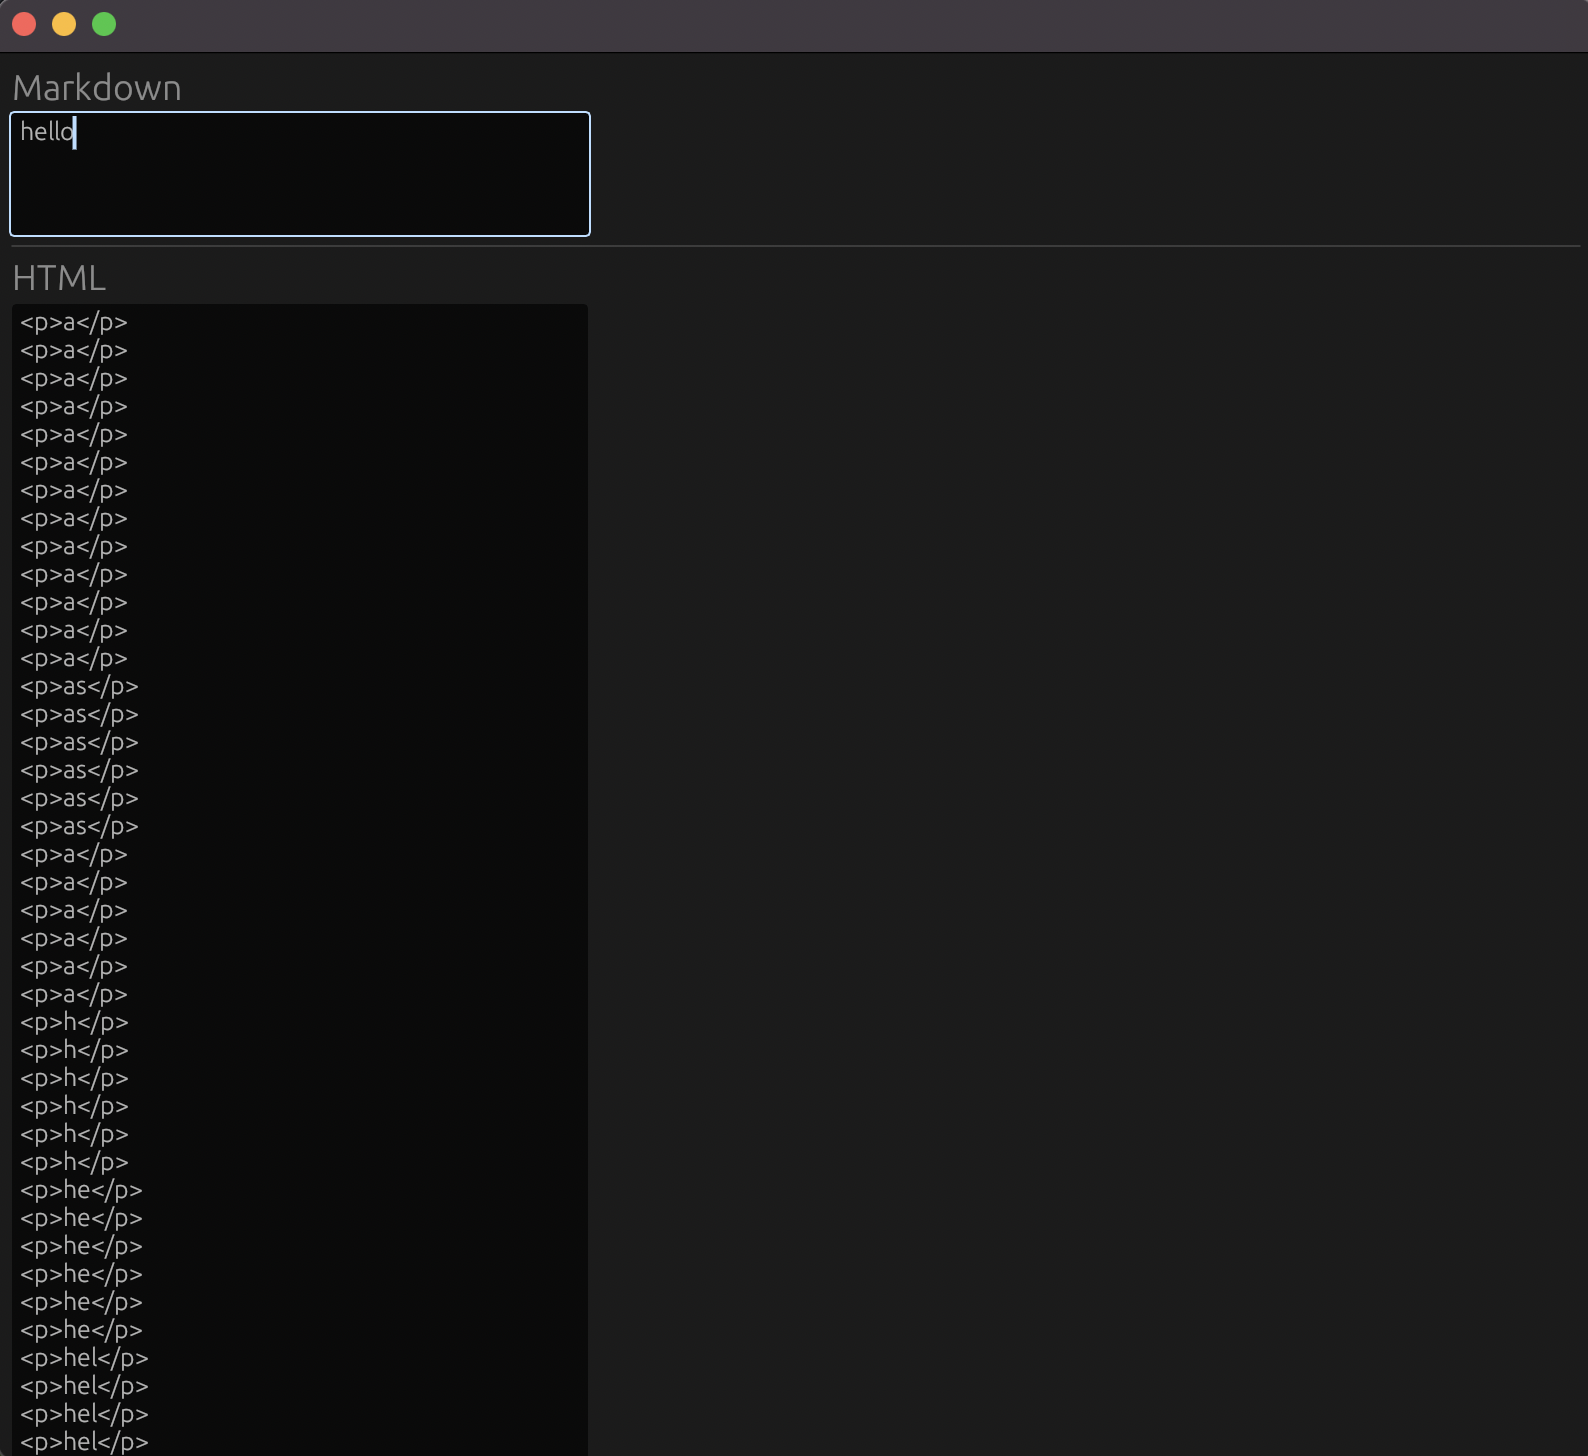
WHAT?! Well if this function is running roughly 60x per second, and the function is called push_html, we probably need to allocate a fresh string and push to that, rather than to the HTML output.
impl MyApp {
    fn convert_markdown(&mut self) {
        let parser = pulldown_cmark::Parser::new(&self.markdown);
        let mut buffer = String::new();
        pulldown_cmark::html::push_html(&mut buffer, parser);
        self.html = buffer;
    }
}
And finally we have our desired effect:
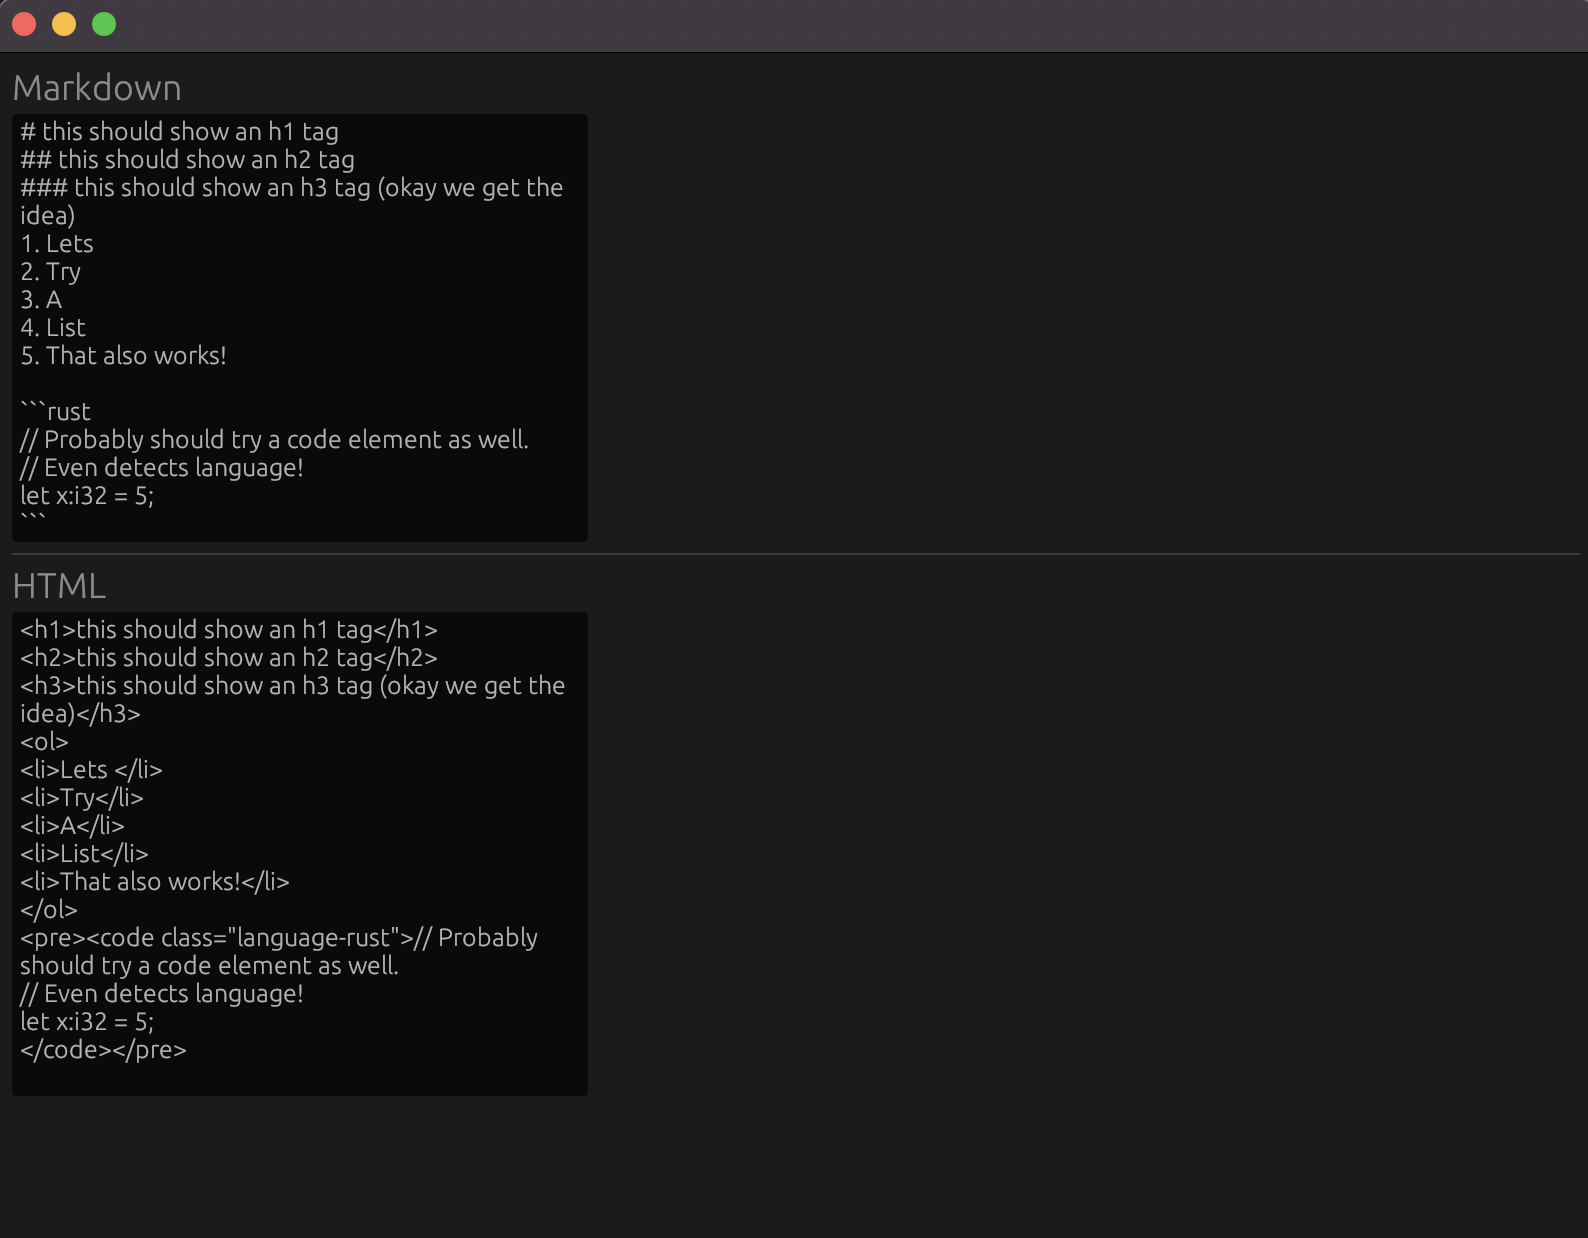
As promised, let’s make it look a bit nicer.
Egui Styling
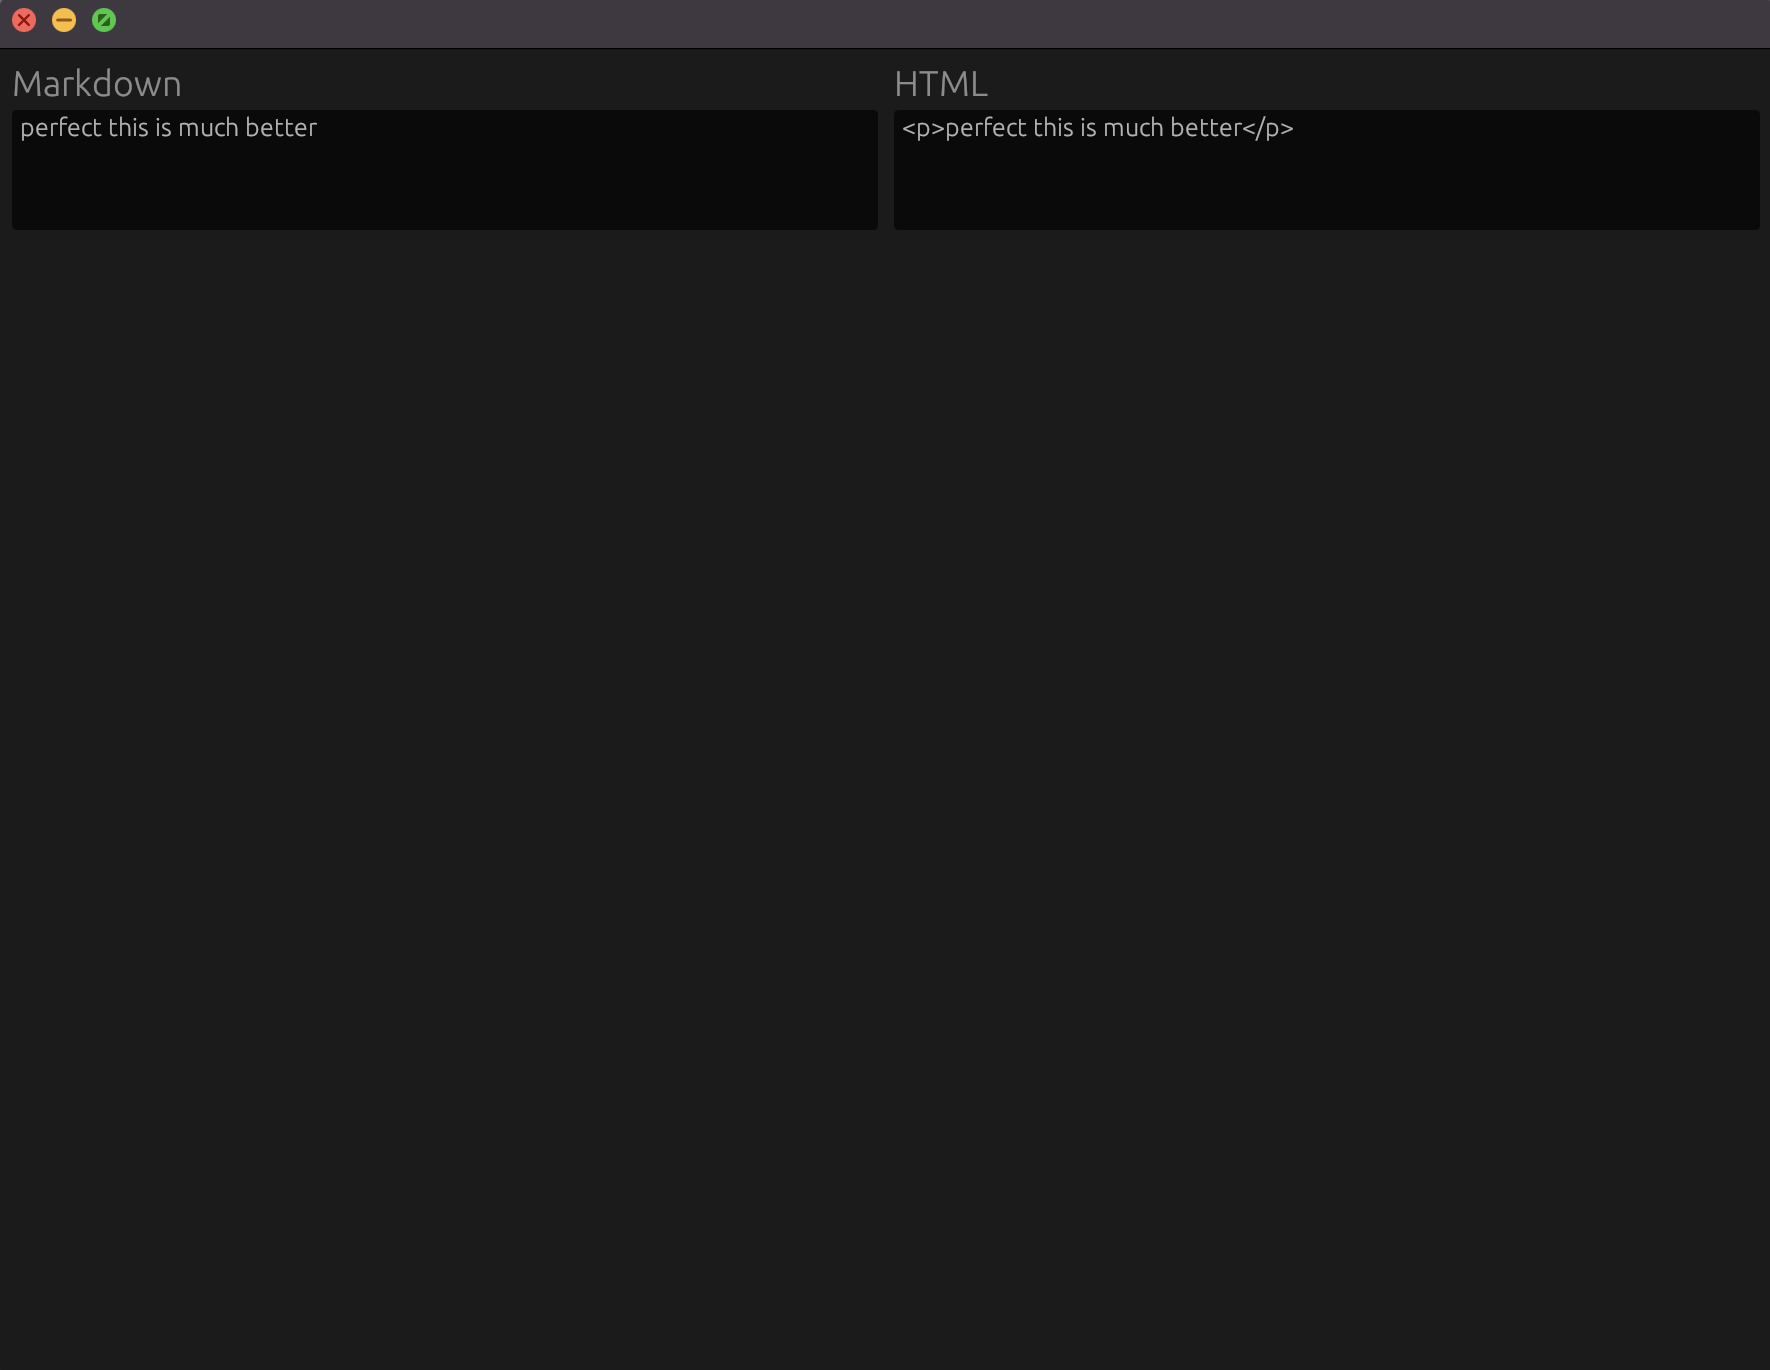
I’d quite like to cleanup the layout ever so slightly, maybe having the markdown input occupying half the width on the left, and the HTML output occupying half the width on the right.
There is a perfect Ui associated function for this, columns() which “splits a Ui into several columns”.
The example given is the following:
ui.columns(2, |columns| {
    columns[0].label("First column");
    columns[1].label("Second column");
});
Modifying our code to incorporate the columns, our update() associated function becomes:
fn update(&mut self, ctx: &egui::Context, _frame: &mut eframe::Frame) {
        egui::CentralPanel::default().show(ctx, |ui| {
            ui.columns(2, |columns| {

                columns[0].heading("Markdown");
                columns[0].text_edit_multiline(&mut self.markdown);

                columns[1].heading("HTML");
                columns[1].text_edit_multiline(&mut self.html);
            });
            self.convert_markdown();
        });
    }
Now it looks significantly better:
Spawning Processes
Bare with me, just one more unnecessary thing I’d like to add. Bearing in mind the entire point of me building this was to then have some static HTML files that I could serve directly from my Yew application, I really think it’d be a good use of my time to add a button which allows me to copy the HTML, thereby saving me from “Click in HTML box -> CMD + A -> CMD + C”. Yes, I am that lazy.
I’ve used a crate before which does this out of the box called clipboard, but I thought I’d use this time to explore how to run sub-processes within my application.
I’m an OSX user by default, I found that there is a built-in executable called pbcopy which sends text to the clipboard, so this will be my starting point. As an example:
echo "send me to the clipboaarrrrddddd" | pbcopyPiping the output of an echo command to pbcopy will, as our string aptly states, send it to the clipbaord.
So we need to run that command with our HTML output on the click of button. As lean as the Rust std-lib is, of course it provides some APIs for working with processes, the process module. For our use case above, we’re particularly looking at std::process::Command, which is “a process builder, providing fine-grained control over how a new process should be spawned”.
Starting with the first command, echo, we’ll try spawning a process just to run that command on click. The docs state that a “default configuration can be generated using Command::new(program), where program gives a path to the program to be executed”.
Okay great, well whats the path to echo? Running where echo shows us that it is located in usr/bin, which is conveniently in our $PATH by default, great news. In preparation for later, running where pbcopy shows that it is also located in usr/bin, and therefore we should be able to pass them both directly to Command::new().
The new() method returns a Command struct which has the following methods which we will need:
// 1.
// Adds an argument to pass to the program.
pub fn arg<S: AsRef<OsStr>>(&mut self, arg: S) -> &mut Command

// 2
// Executes the command as a child process, returning a handle to it.
// By default, stdin, stdout and stderr are inherited from the parent.
pub fn spawn(&mut self) -> Result<Child>
arg(S) takes a single argument of type S where S implements AsRef<OsStr>, which as shown in the docs for str, is implemented, great! So we can pass a reference to our HTML to the arg() builder method, and then spawn it on a button click like so:
if columns[1].button("Show HTML in Terminal").clicked() {
    Command::new("echo").arg(&self.html).spawn().expect("Failed to run echo");
}
And then when clicking the button we see the HTML output sent to the terminal!

We now need to capture that output and pipe it as stdin to pbcopy. To do that, we need to configure the stdout from echo to know that we are intent on piping it to another process. The builder argument stdout() allows us to configure this:
let echo_child = Command::new("echo")
                    .arg("hi")
                    .stdout(Stdio::piped())
                    .spawn()
                    .expect("Failed to run echo");
Then we can run pbcopy with the piped stdin input from the output of this command!
Command::new("pbcopy")
        .stdin(Stdio::from(echo_child.stdout.expect("Failed to retrieve stdout from echo")))
        .spawn()
        .expect("Failed to run pbcopy");
Let’s give it a go in our button:
if columns[1].button("Copy HTML to Clipboard").clicked() {
    let echo_child = Command::new("echo")
                        .arg(&self.html)
                        .stdout(Stdio::piped())
                        .spawn()
                        .expect("Failed to run echo");
    Command::new("pbcopy")
        .stdin(Stdio::from(echo_child.stdout.expect("Failed to retrieve stdout from echo")))
        .spawn()
        .expect("Failed to run pbcopy");

}
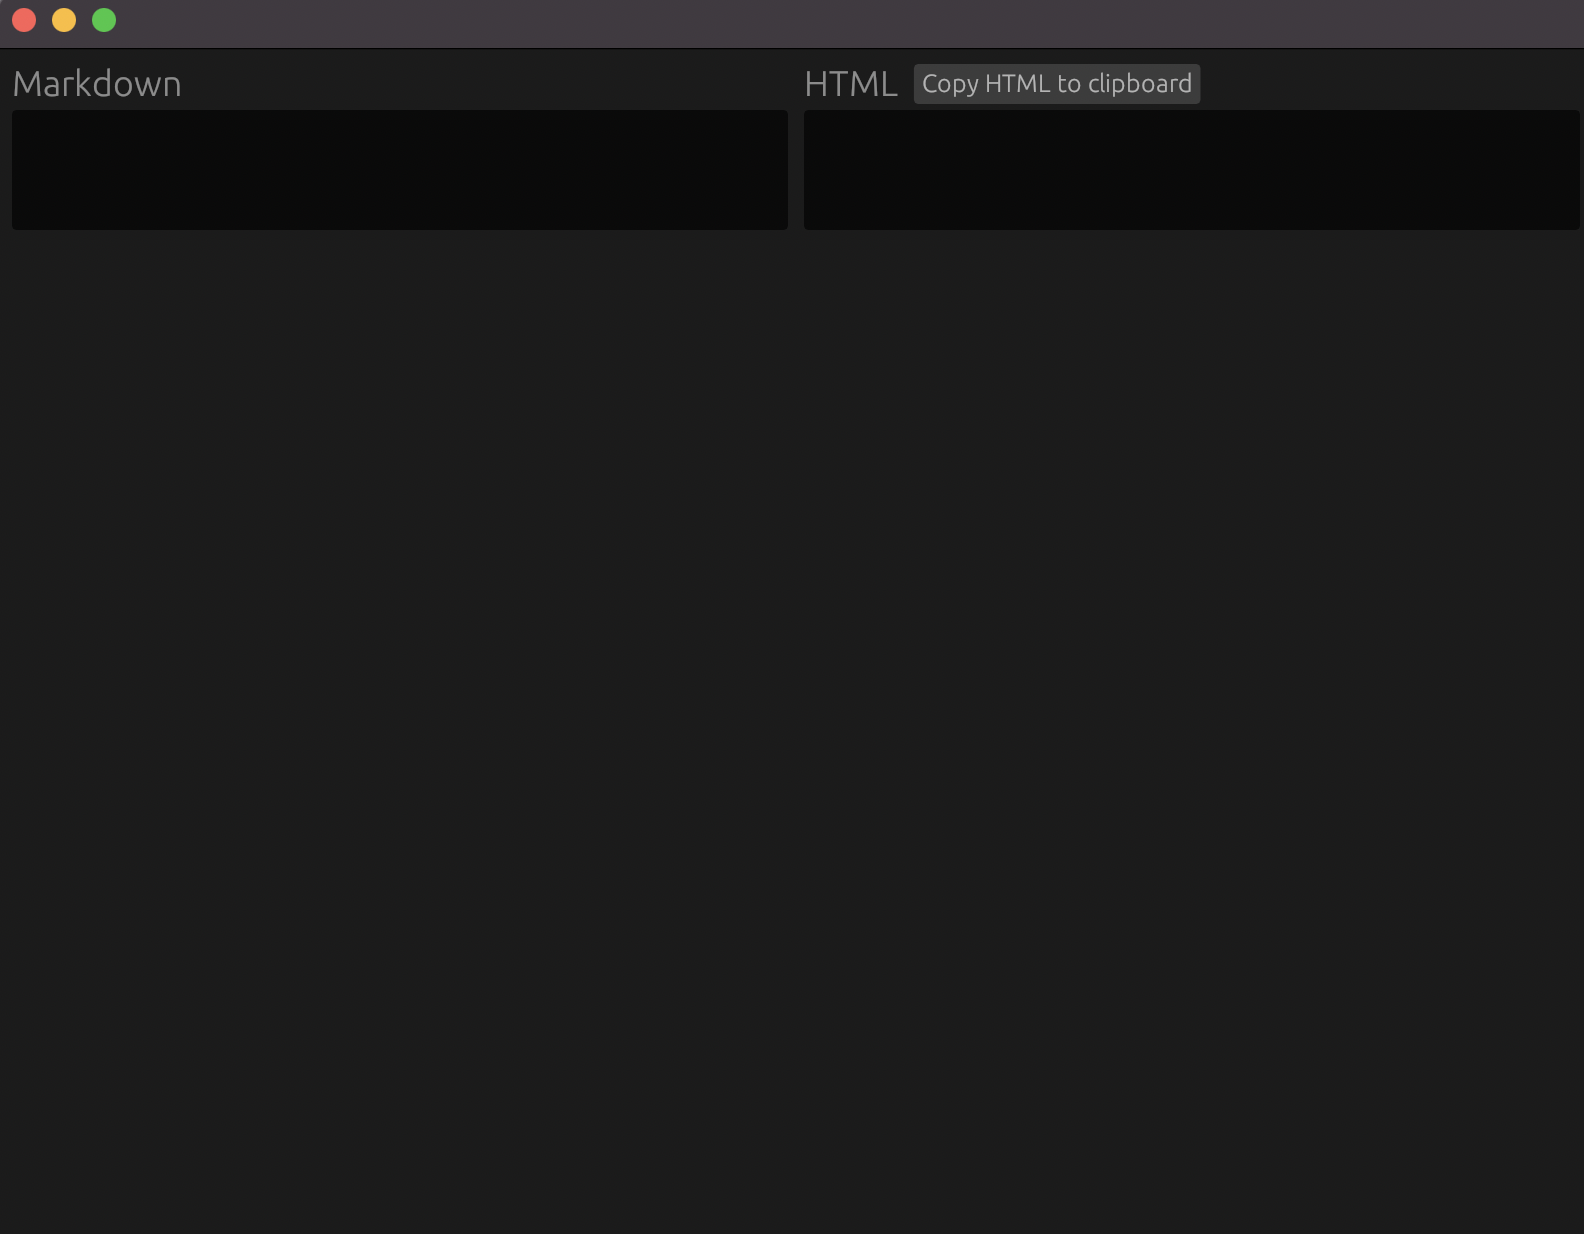
And it works! One final bit of styling, It would be nice if the button showed next to the HTML title rather than below it as it ruins the alignment a bit. For this we need to horizontally align two of our UI components, the HTML heading, and the button. Thankfully there is a nice Ui method for this, aptly named horizontal().
Our final update() method becomes:
fn update(&mut self, ctx: &egui::Context, _frame: &mut eframe::Frame) {
        egui::CentralPanel::default().show(ctx, |ui| {

            ui.columns(2, |columns| {

                columns[0].heading("Markdown");
                columns[0].text_edit_multiline(&mut self.markdown);

                columns[1].horizontal(|ui| {
                    ui.heading("HTML");

                    if ui.button("Copy HTML to Clipboard").clicked() {

                        let echo_child = Command::new("echo")
                            .arg(&self.html)
                            .stdout(Stdio::piped())
                            .spawn()
                            .expect("Failed to run echo");

                        Command::new("pbcopy")
                            .stdin(Stdio::from(echo_child.stdout.expect("Failed to retrieve stdout from echo")))
                            .spawn()
                            .expect("Failed to run pbcopy");

                    }
                });
                columns[1].text_edit_multiline(&mut self.html);
            });
            self.convert_markdown();
        });
    }
Which provides us with this application:
Final Thoughts
Okay so that was a bit of whirlwind tour around creating a desktop application with Egui, as well as a brief look into executing programs within our program.
Now don’t get me wrong, Egui is awesome, but it’s not quite for me. There’s something about the way the layout is created that I found particularly pernickity to deal with. In fact, you may notice that the “Egui Styling” section of this post is rather short, and that is because to be completely honest, I struggled to work out how to do some fairly basic styling.
The other major issue I have with this implementation of my markdown to HTML converter, is that I’m just looking at raw HTML. In an ideal world, I’d love to be able to render the HTML as it would eventually look on my blog, now that would be perfect.
If only there was an incredibly well documented way to create and style a frontend layout, something like a common Javascript frontend framework + HTML + CSS, yet write any backend-related code in Rust, and end up with desktop application…