2023-01-27
Let's write a blog in Rust - Part 1
Or eventually go down a rabbit hole and write it in something completely different...
Rust • Yew • WASM
Preface
As my first blog post ever, I thought it’d be particularly meta to write a blog on the creation of my blog itself. Yes I could have just used something like WordPress, but where’s the fun in that?!
When I had the idea to create my own blog (original I know), I had the following criteria in mind:
- It must be written in Rust (hint, it won’t be).
- I would like to write as little HTML and CSS as possible (as to be perfectly honest I’ve never really delved into the realm of frontend development).
- I would like it to operate without a backend and database, serving content statically.
With these criteria, and a bit of research, I landed on writing my blog in Yew, a Rust component-based frontend framework. For CSS, I’ll mainly leverage Pico CSS (thanks to Fireship for the idea), supplementing it when necessary. To avoid writing as much HTML I’ll write my content in Markdown, and use GitHub as my CMS. The ultimate idea being that I write a new post in a single .md file, push it to my blog repo, and voila, a new post is available.
There’s a lot here that I’ve never looked into before, so I thought I’d start with getting to grips with Yew. It seems like every frontend starting place is a simple counter application, maybe as it involves keeping state? Who knows.
Yew
So following the getting started guide over on the Yew website, we start by installing the web assembly (WASM) target to the Rust compiler, and installing Trunk, the tool for deploying and managing our WASM app, through cargo:
# WASM Target
rustup target add wasm32-unknown-unknown

# Then trunk
cargo install --locked trunk
Right, we should be good to go! Let’s start with the basics of Yew by creating a new cargo binary and adding Yew to our cargo.toml with the csr feature.
cargo new yew-counter-app
cd yew-counter-app
cargo add yew --features csr
Noice, now let’s go into our main.rs file and start with a simple Hello World app.
use yew::prelude::*;

#[function_component]
fn App() -> Html {
    html! {
        <h1> {"Hello World"} </h1>
    }
}

fn main() {
    yew::Renderer::<App>::new().render();
}
Then we just need to add an index.html file in the root of folder:
<!DOCTYPE html>
<html>
    <head>
        <meta charset="utf-8" />
        <title> My First Yew App</title>
    </head>
</html>
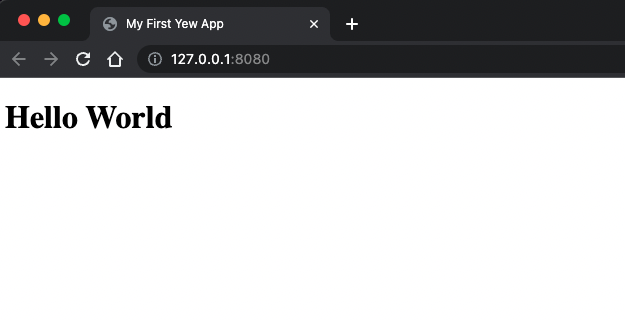
And away we go by running the command trunk serve (not cargo run otherwise you get some ugly errors about non-wasm targets).

And there we have it! A Rust written web application running on WASM.
Okay but it does nothing yet and isn’t particularly pretty looking. Let’s work out what the code is actually doing and how to add more components, eventually our counter.
Looking at the source code, it seems fairly clear what is going on. We are defining our top-level function component, App() which returns some HTML, and then we render that component in the main function. A strange quirk I found, in comparison to Javascript frameworks I’ve briefly played around with, is that the html! macro requires a Rust &str for the text of an HTML element (and the same applies for classes). In this way we must write the following:
// Compiles!
html! {
    <div class={"a-div"}> {"hello"} </div>
}

// Does not compile :(
html! {
    <div class=a-div> hello </div>
}
Let’s try creating a button component and importing it just so we can get a feel for whats going on.
// button.rs

use yew::prelude::*;

#[function_component]
pub fn Button() -> Html {
    html! {
        <button> {"This is a button"} </button>
    }
}

-----------------------------------------------

// main.rs
mod button;

use button::Button;
use yew::prelude::*;

#[function_component]
fn App() -> Html {
    html! {
        <Button/>
        <h1> {"Hello World"} </h1>
    }
}

fn main() {
    yew::Renderer::<App>::new().render();
}
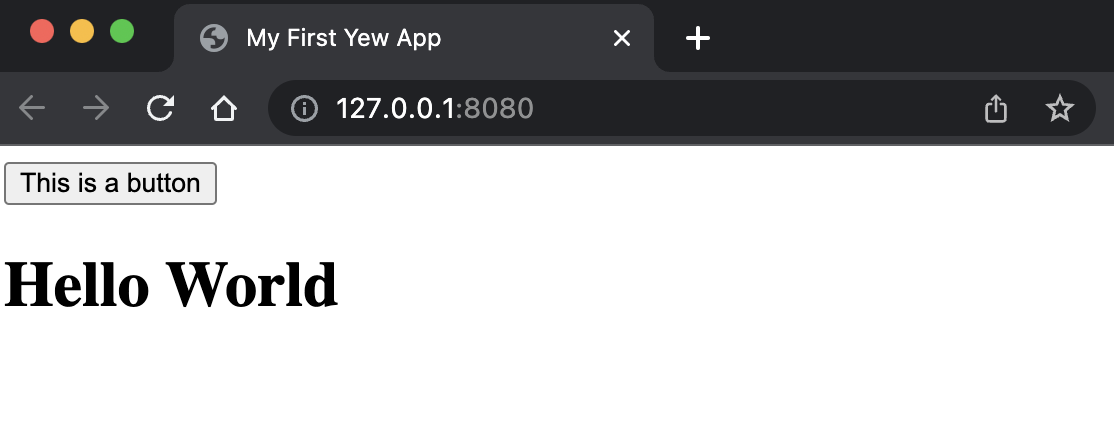
This should work, ah but hang on, the Rust compiler gives an error and won’t compile as within our App component output, we have more than one root html element, and handily tells us to wrap it in a fragment (much like React I believe). Let’s quickly fix that:
// main.rs

#[function_component]
fn App() -> Html {
    html! {
        <>
        <Button/>
        <h1> {"Hello World"} </h1>
        </>
    }
}
It compiles and we now have a button, albeit a rather sad looking one.

A question I have here, is what is that curious looking #[function_component] at the top of our function. As a primarily Python developer, the thing that came to mind when I saw one of these for the first time is “What a very strange comment that is”.
This is in fact, as I found out, not a comment, but a procedural macro, and more specifically, an attribute macro. According to the official Rust documentation, procedural macros are defined as “allow[ing] you to run code at compile time that operates over Rust syntax, both consuming and producing Rust syntax”.
Well that’s sick, code that generates code at compile time? You’ve got my attention Ferris. So the question now is, what does it generate?
Turns out there is a nice little project called cargo-expand which does this for you! To install on simple installs it via cargo:
cargo install cargo-expandNow we can use it with cargo expand and watch it our simple button component turn into:
mod button {
    use yew::prelude::*;
    #[allow(unused_parens)]
    pub struct Button {
        _marker: ::std::marker::PhantomData<()>,
        function_component: ::yew::functional::FunctionComponent<Self>,
    }
    impl ::yew::functional::FunctionProvider for Button {
        type Properties = ();
        fn run(
            ctx: &mut ::yew::functional::HookContext,
            props: &Self::Properties,
        ) -> ::yew::html::HtmlResult {
            fn inner(_ctx: &mut ::yew::functional::HookContext, _: &()) -> Html {
                {
                    {
                        #[allow(clippy::useless_conversion)]
                        <::yew::virtual_dom::VNode as ::std::convert::From<
                            _,
                        >>::from({
                            #[allow(clippy::redundant_clone, unused_braces)]
                            let node = ::std::convert::Into::<
                                ::yew::virtual_dom::VNode,
                            >::into(
                                ::yew::virtual_dom::VTag::__new_other(
                                    ::std::borrow::Cow::<
                                        'static,
                                        ::std::primitive::str,
                                    >::Borrowed("button"),
                                    ::std::default::Default::default(),
                                    ::std::option::Option::None,
                                    ::yew::virtual_dom::Attributes::Static(&[]),
                                    ::yew::virtual_dom::listeners::Listeners::None,
                                    ::yew::virtual_dom::VList::with_children(
                                        <[_]>::into_vec(
                                            #[rustc_box]
                                            ::alloc::boxed::Box::new([
                                                ::std::convert::Into::into(
                                                    ::yew::virtual_dom::VText::new(
                                                        ::yew::virtual_dom::AttrValue::Static("This is a button"),
                                                    ),
                                                ),
                                            ]),
                                        ),
                                        ::std::option::Option::None,
                                    ),
                                ),
                            );
                            node
                        })
                    }
                }
            }
            ::yew::html::IntoHtmlResult::into_html_result(inner(ctx, props))
        }
    }
    #[automatically_derived]
    impl ::std::fmt::Debug for Button {
        fn fmt(&self, f: &mut ::std::fmt::Formatter<'_>) -> ::std::fmt::Result {
            f.write_fmt(::core::fmt::Arguments::new_v1(&["Button<_>"], &[]))
        }
    }
    #[automatically_derived]
    impl ::yew::html::BaseComponent for Button
    where
        Self: 'static,
    {
        type Message = ();
        type Properties = ();
        #[inline]
        fn create(ctx: &::yew::html::Context<Self>) -> Self {
            Self {
                _marker: ::std::marker::PhantomData,
                function_component: ::yew::functional::FunctionComponent::<
                    Self,
                >::new(ctx),
            }
        }
        #[inline]
        fn update(
            &mut self,
            _ctx: &::yew::html::Context<Self>,
            _msg: Self::Message,
        ) -> ::std::primitive::bool {
            true
        }
        #[inline]
        fn changed(
            &mut self,
            _ctx: &::yew::html::Context<Self>,
            _old_props: &Self::Properties,
        ) -> ::std::primitive::bool {
            true
        }
        #[inline]
        fn view(&self, ctx: &::yew::html::Context<Self>) -> ::yew::html::HtmlResult {
            ::yew::functional::FunctionComponent::<
                Self,
            >::render(&self.function_component, ::yew::html::Context::<Self>::props(ctx))
        }
        #[inline]
        fn rendered(
            &mut self,
            _ctx: &::yew::html::Context<Self>,
            _first_render: ::std::primitive::bool,
        ) {
            ::yew::functional::FunctionComponent::<
                Self,
            >::rendered(&self.function_component)
        }
        #[inline]
        fn destroy(&mut self, _ctx: &::yew::html::Context<Self>) {
            ::yew::functional::FunctionComponent::<
                Self,
            >::destroy(&self.function_component)
        }
        #[inline]
        fn prepare_state(&self) -> ::std::option::Option<::std::string::String> {
            ::yew::functional::FunctionComponent::<
                Self,
            >::prepare_state(&self.function_component)
        }
    }
}
Riiiiiigggggghhhhhhtttttt, that’s a lot to digest, I won’t go into too much detail here (mainly because I don’t understand the vast majority of it), but what is interesting to see is that although we write the function component as a function, it is actually not a function at all! The macro converts our function to a struct component pub struct Button and generates the necessary methods to turn the struct into a struct component for Yew. If you take a quick look to the Yew documentation here, you’ll see similar code written for creating a Struct component.
Anyway, as the docs say, that is an advanced topic, and one that I’ll put aside now for a later date. Onwards to state we go!
Keeping State in Yew
Looking at the documentation, there is a function in the prelude module (already imported) called use_state which has the following signature:
pub fn use_state<'hook, T, F>(init_fn: F) -> impl 'hook + ::yew::functional::Hook<Output = UseStateHandle<T>>
where
    T: 'static,
    F: FnOnce() -> T,
    T: 'hook,
    F: 'hook,
Uh okay, so what does all of that mean? Not quite as verbose as the macro expansion above, but as a Rust beginner, it’s still a bit confusing. I’m gonna plead the 5th and just take a look at the bits I immediately understand and work it out from there.
The function takes one argument, init_fn, which is of type F where F is bound by FnOnce() -> T. An FnOnce() type is a closure (I think) which returns a type T, which itself is bound by static lifetime. There are also trait bounds for ‘hook, but I’ll leave them be for now. The function looks like it ultimately returns the type UseStateHandle<T>.
According to the docs, the UseStateHandle type is stated to be a “State handle for the use_state hook”, and looking through the associated functions for the type, we see the following signature:
impl<T> Deref for UseStateHandle<T>
type Target = T
Ahh we’re getting somewhere! It it feels like we can create state through the use_state function, which takes a closure returning type T as an argument, ultimately returning a UseStateHandle<T> which derefs to the inner T? That’s a lot of T, but let’s try it out!
// main.rs

#[function_component]
fn App() -> Html {

    let title:UseStateHandle<&str> = use_state(|| "Hello, Sam!" );

    html! {
        <>
        <Button/>
        <h1> {*title} </h1>
        </>
    }
}
It compiles, and does it output our expected behaviour? It does!

Okay okay, now let’s get into actually making the counter.
Handling On-Click Events
Back to basics, let’s set up an onclick event such that when we click the button, we output “hi” to the console. Wait a minute, Sam, this is Rust isn’t it? console.log() is a javascript function?
Oh yeah, damn. Thankfully the Yew docs suggest using the gloo-console crate for debugging our Rust built WASM application. Time to add it to our cargo.toml and test it out!
use yew::prelude::*;
use gloo_console::log;

#[function_component]
pub fn Button() -> Html {
    let count:UseStateHandle<i32> = use_state(|| 0);

    html! {
        <button onclick={log!("hi")}> {*count} </button>
    }
}
This makes sense to me, we’re just saying that we’d like to execute some Rust code on click. It doesn’t compile however, sigh. Yet as always with Rust, the incredible error messages point us in the right direction - “expected a Fn<(MouseEvent,)> closure, found ()”
Okay, so we want a closure, time to try again:
use yew::prelude::*;
use gloo_console::log;

#[function_component]
pub fn Button() -> Html {
    let count:UseStateHandle<i32> = use_state(|| 0);

    html! {
        <button onclick={|| log!("hi")}> {*count} </button>
    }
}
Another error, this one even more directed by the rust compiler - “closure is expected to take 1 argument, but it takes 0 arguments”. Just add an argument to the closure then? Although the compiler is asking for it, we don’t need any argument to run our log!, so we’ll use an underscore as a placeholder to keep the compiler happy.
Third time’s the charm:
use yew::prelude::*;
use gloo_console::log;

#[function_component]
pub fn Button() -> Html {
    let count:UseStateHandle<i32> = use_state(|| 0);

    html! {
        <button onclick={|_| log!("hi")}> {*count} </button>
    }
}
This compiles, and more importantly it works as intended! Test it out yourself and see “hi” being logged to the console every time you click the button.
Extending this now should be simple, we just need a closure that increases the count by 1:
use yew::prelude::*;

#[function_component]
pub fn Button() -> Html {
    let count:UseStateHandle<i32> = use_state(|| 0);

    html! {
        <button onclick={|_| *count +=1 }> {*count} </button>
    }
}
Not only do we have an error here, we actually have two individual errors, lucky us!
The first one states the following - “cannot assign to data in dereference of yew::UseStateHandle<i32>
trait DerefMut is required to modify through a dereference, but it is not implemented for yew::UseStateHandle<i32>”
Okay, so dereferencing doesn’t allow us to mutate the data as we haven’t implemented DerefMut? Back to the docs we go! Right at the top we have the following method signature:
pub fn set(&self, value: T)
// Replaces the value.
Ahhhh, so we have to set it using this method rather than by dereferencing and changing the value itself. Let’s make this easier on the eyes and assign the code we wish to run on click to a variable.
#[function_component]
pub fn Button() -> Html {
    let count:UseStateHandle<i32> = use_state(|| 0);

    let onclick_handler = {
        |_| {
            let value = *count+1;
            count.set(value);
        }
    };

    html! {
        <button onclick={onclick_handler}> {*count} </button>
    }
}
That’s solved our first error, onto the next! - “closure may outlive the current function, but it borrows count, which is owned by the current function
may outlive borrowed value count”
The compiler points us in the right direction, and Rust Analyzer even offers an auto-fix for us. We need to move the count into the closure:
let onclick_handler = {
    move |_| {
        let value = *count+1;
        count.set(value);
    }
};
There is one, final, error to deal with here, the ol’ Rust classic, “borrow of moved value”. Thinking it through, we’re declaring a variable count, which is then moved into onclick_handler to set the new value, and then we want to use it later in the actual button as the text, therefore trying to use it in two places. This is against core Rust rules.
Looking to the docs once again, we see that clone is implemented for UseStateHandle. As the onclick handler needs to take ownership of the count, but then drops it once it’s updated the original value, we’ll clone the count before moving it into the closure.
#[function_component]
pub fn Button() -> Html {
    let count:UseStateHandle<i32> = use_state(|| 0);

    let onclick_handler = {
        let count_clone = count.clone();
        move |_| {
            let value = *count_clone+1;
            count_clone.set(value);
        }
    };

    html! {
        // We don't care about extracting actual information from the event in the closure, hence the underscore.
        <button onclick={onclick_handler}> {*count} </button>
    }
}
Okay, it finally works, clicking the button now increments the count as intended.
As final cherry on the top for this post, let’s just quickly link a premade style sheet to make things look a bit nicer.
Let’s download pico.css and link it in our index.html as so (note that data trunk must be added as an attribute to the link element):
<head>
    <meta charset="utf-8" />
    <title> My First Yew App</title>
    <link rel="css" data-trunk href="./pico.min.css"> </link>
</head>
And then change our App function ever so slightly by adding the container class and removing the text:
#[function_component]
fn App() -> Html {

    html! {
        <div class={"container"}>
            <Button/>
        </div>
    }
}
And finally, the age old joke of centering a div. To be completely honest, I googled and copied the CSS for this. I also have no remorse for doing so. Let’s add it to a new file:
/* ./global.css*/
div {
    width: 100px;
    height: 100px;
    position: absolute;
    top:0;
    bottom: 0;
    left: 0;
    right: 0;
    margin: auto;
}

button {
    max-width: 100px;
    margin: auto;
}
And then linking this stylesheet as well to our index.html page so that the whole page becomes:
<!DOCTYPE html>
<html>
    <head>
        <meta charset="utf-8" />
        <title> My First Yew App</title>
        <link rel="css" data-trunk href="./pico.min.css"> </link>
        <link rel="css" data-trunk href="./global.css"> </link>
    </head>
</html>
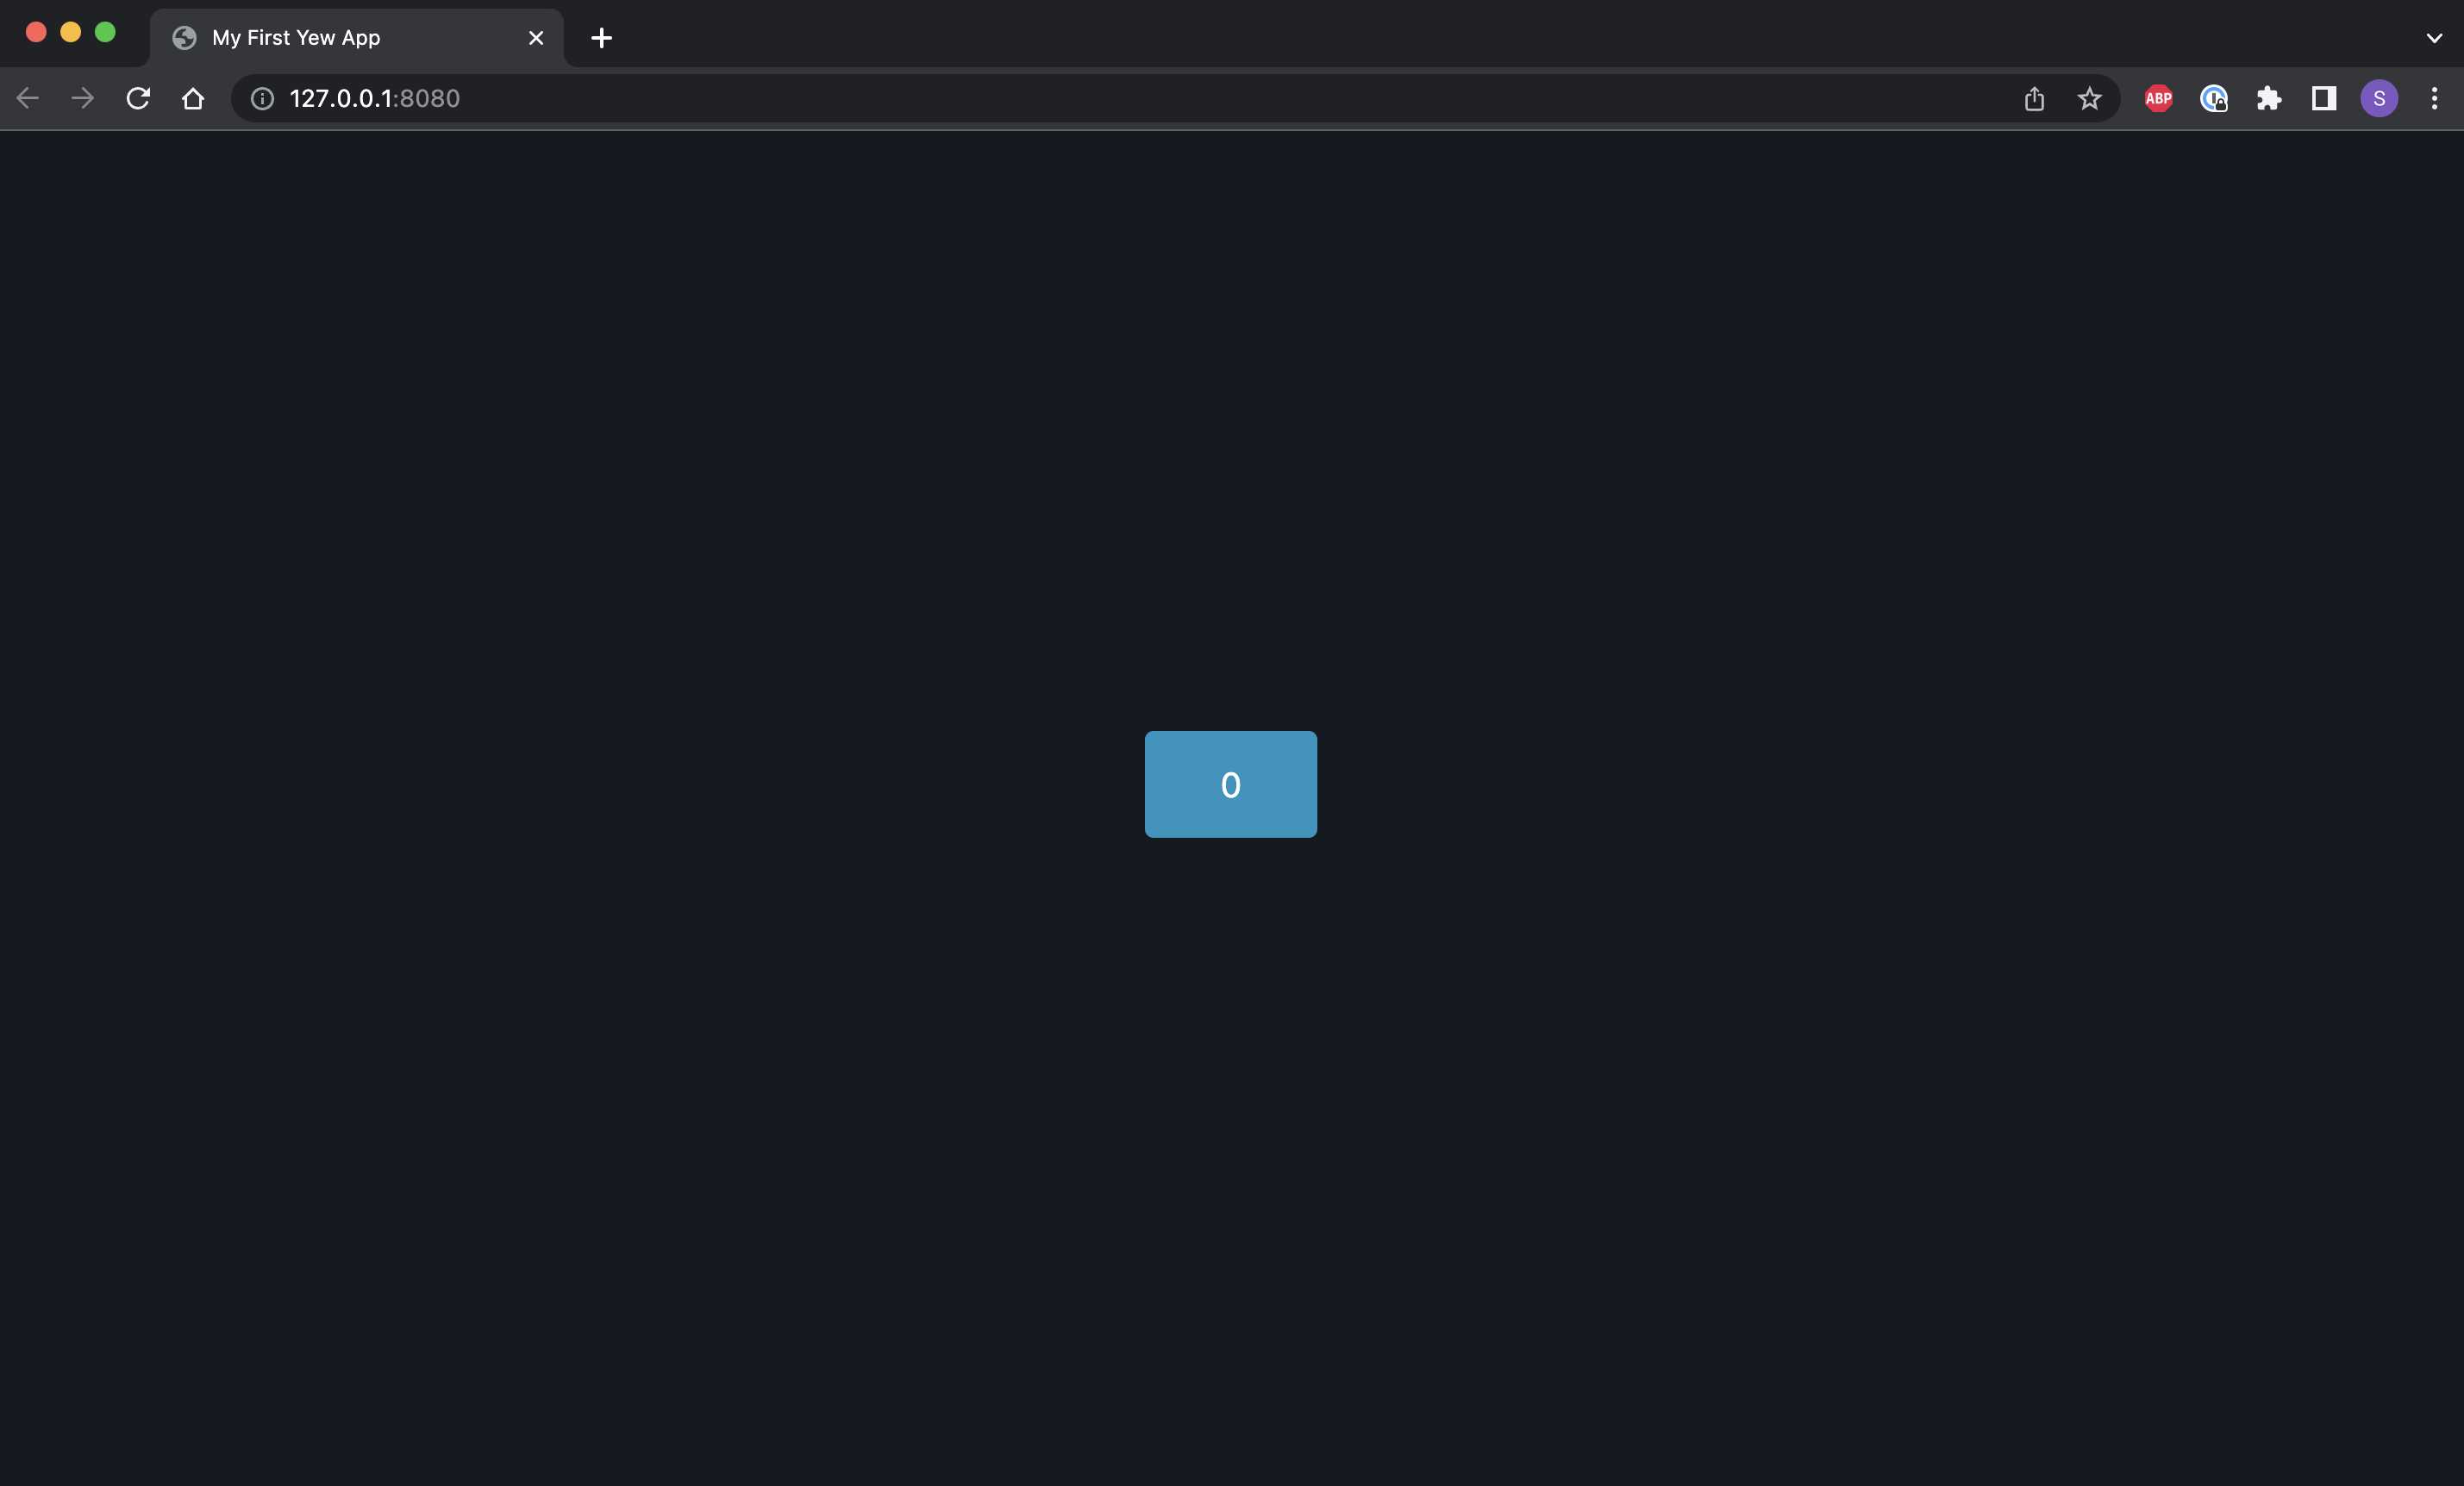
And finally, after much Rust compiler head banging, we have a fully functioning button counter app which looks quite nice, dark theme naturally.

Now you might be sitting there thinking, hang on a minute Sam, I just checked out the Yew website and you’ve pretty much got exactly what they’ve got in their tutorial…
use yew::prelude::*;

#[function_component]
fn App() -> Html {
    let counter = use_state(|| 0);
    let onclick = {
        let counter = counter.clone();
        move |_| {
            let value = *counter + 1;
            counter.set(value);
        }
    };

    html! {
        <div>
            <button {onclick}>{ "+1" }</button>
            <p>{ *counter }</p>
        </div>
    }
}

fn main() {
    yew::Renderer::<App>::new().render();
}
Yep, bang on. But think about all the fun we’ve (well I’ve) had along the way reading through documentation, and most importantly learning why it is that a simple counter app is built like that. At the end of the day I’ve learnt something, and hope you have too.
Returning to the title of this post and what we’ve covered. I now understand the very basics of how to build a web application with Yew, I’ve utilised Pico CSS to avoid writing as much CSS. It seems that my next challenge will be a way to write as little HTML as possible, and to serve my blog posts statically from within the web application. Stay tuned for part 2!